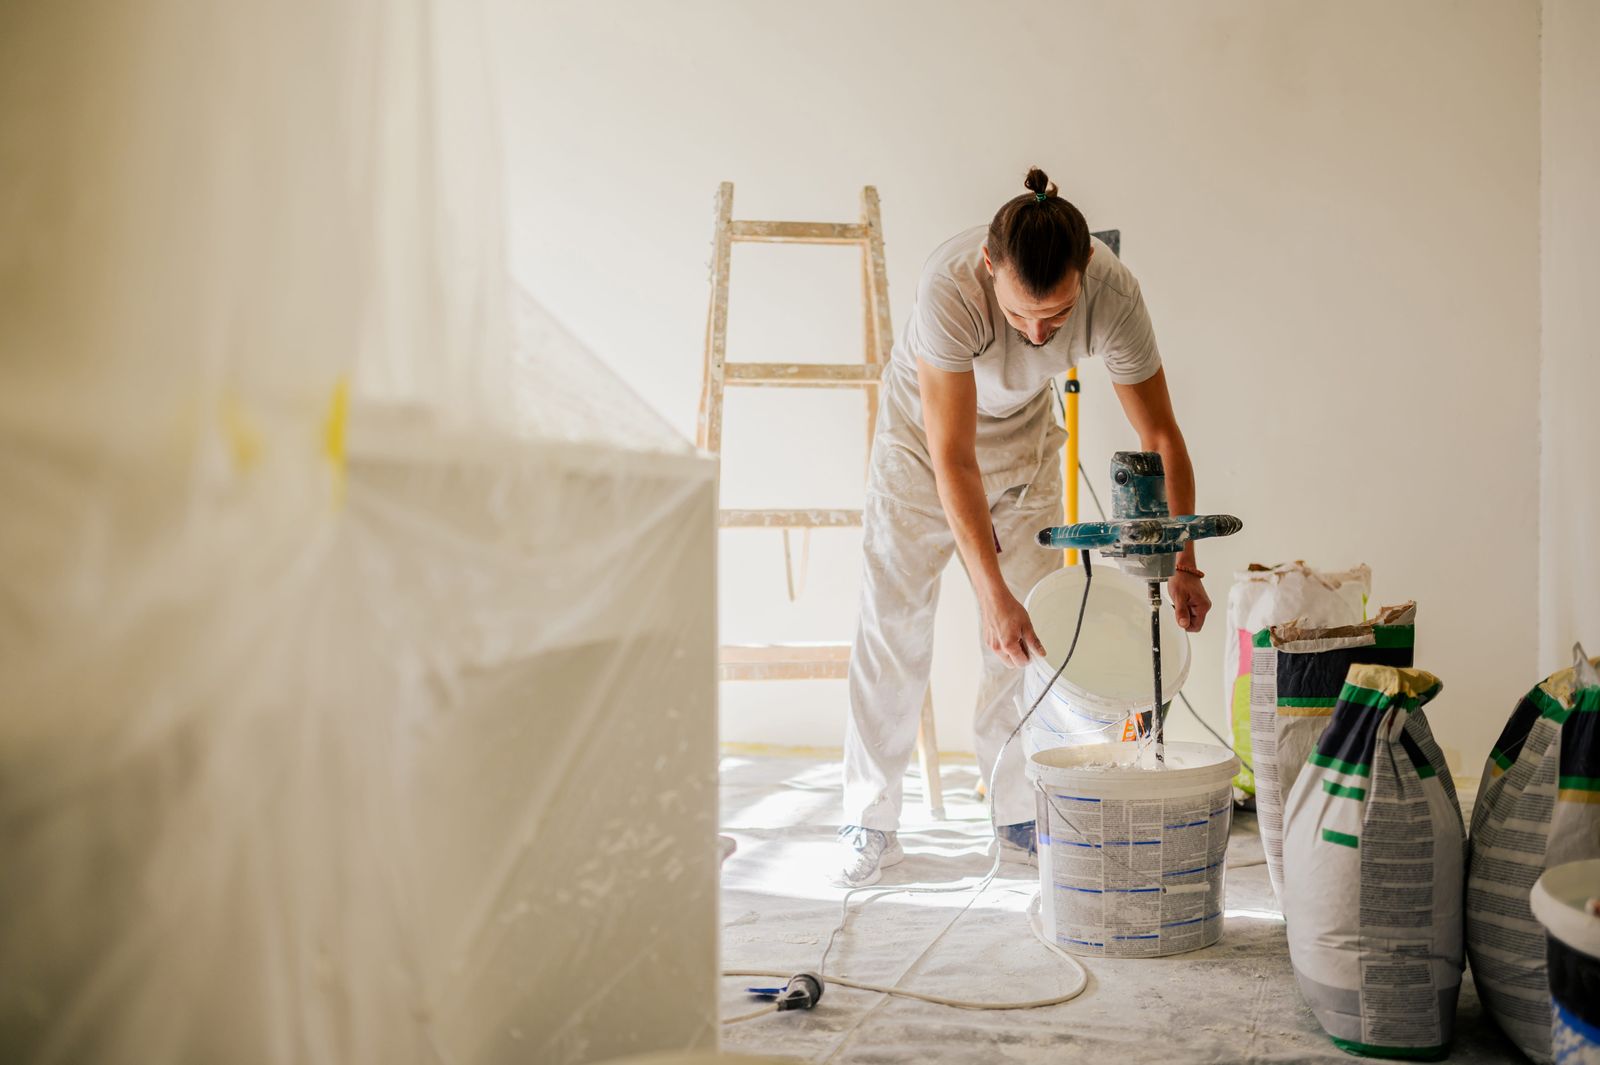
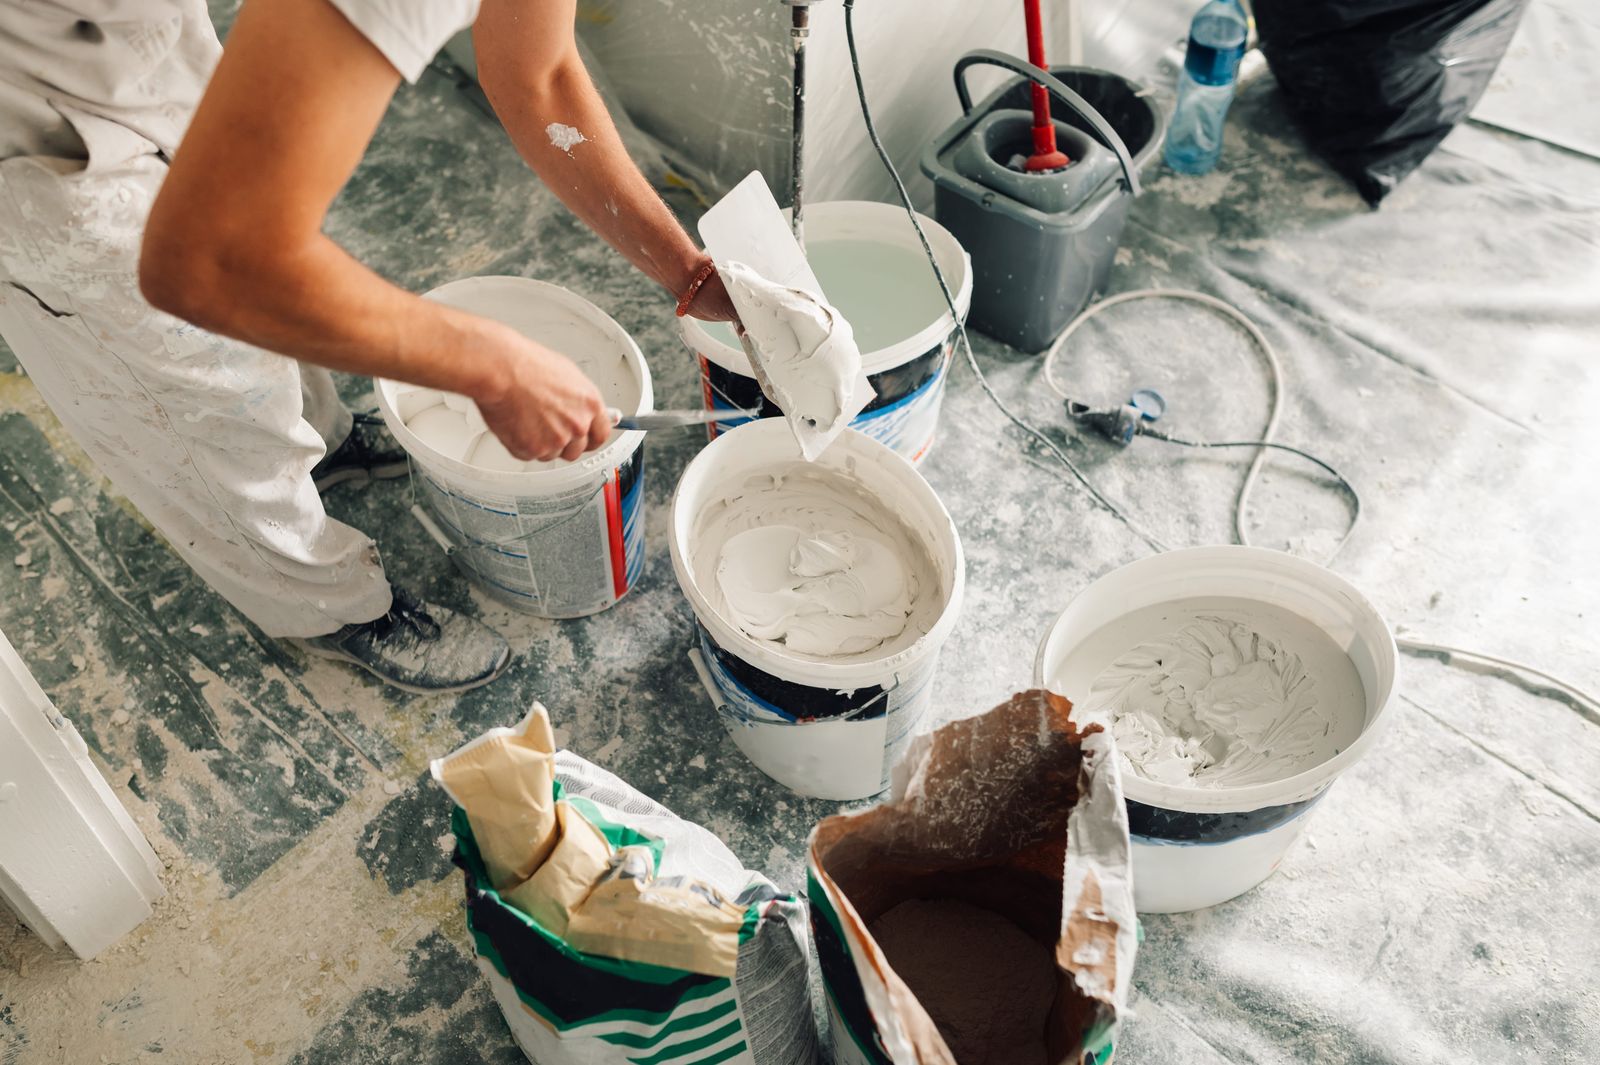
There is a rule of thumb in the trade that painting is 80% preparation and 20% paint. Like most rules of thumb it is roughly right for the wrong reason: the real point is not the ratio but the dependency. A premium coating applied over a poorly prepared wall will fail sooner than a mid-range coating applied over a properly prepared one. The topcoat cannot compensate for what is underneath it.
This guide sets out the preparation sequence for South African walls, what the major manufacturers specify in their own technical data, and the specific problems — chalking, crazing, efflorescence, new plaster — that come up most often on Highveld properties.
On this page
- The rule that governs everything
- The preparation sequence, in order
- The terms worth knowing
- Cracks: which ones matter
- Chalking, the Highveld's signature problem
- Damp, efflorescence and algae
- New plaster: how long to wait
- Choosing the right primer
- What you actually need
- Seven mistakes we are called out to fix
- Frequently asked questions
- Conclusion
The rule that governs everything
The surface must be clean, sound, dry and correctly primed — in that order. Nearly every paint failure traces back to one of those four being skipped.
Plascon states the principle directly in its own guidance on preparing exterior walls: "All surfaces must be clean, firm and thoroughly dry before painting."[1] That sentence is doing a lot of work. Clean excludes dust, chalk, grease and biological growth. Firm excludes anything loose or friable. Thoroughly dry excludes not just visible damp but moisture held inside the masonry.
Key takeaways
- Paint is a thin film. It cannot bridge a moving crack, bond to dust, or cure over trapped moisture.
- Chalking is the most common Highveld exterior problem and needs a bonding primer, not ordinary plaster primer.
- Plascon specifies at least 28 days' drying for new plaster before priming.
- Dulux Trade sets moisture thresholds instead: 30% for its moisture-tolerant primer, 12% for standard topcoats.
- South Africa has a national standard for this work — SANS 10305, in six parts.
The preparation sequence, in order
- Inspect and diagnose. Walk the walls before buying anything. Note cracks, damp patches, chalking, blistering, algae and loose paint. What you find determines the whole specification.
- Clean. Exterior walls need high-pressure washing to strip dust, chalk, algae and loose material. Interior walls need washing down — kitchens especially, where cooking grease builds up invisibly and will reject paint.
- Scrape and sand. Remove all loose, flaking or blistered paint. Feather the edges of sound paint so the transition does not telegraph through the new coat. If more than roughly a third of a wall is failing, taking it all back is usually faster and better than patching.
- Repair. Fill cracks and holes, make good damaged plaster, replace crumbling sections. Let filler cure fully before sanding — rushing this leaves shrinkage marks that show through the finish.
- Treat problems at source. Damp, mould, algae and efflorescence must be dealt with, not covered.
- Dry. Allow the surface to dry properly after washing or rain. Fresh plaster needs considerably longer — see below.
- Prime. The right primer for the substrate. This is not optional and it is not the same as a first coat of your finish paint.
- Protect. Mask, sheet the floors, cover furniture, plants and paving before a single tin is opened.
The terms worth knowing
Quotes and product labels use these constantly, and they are worth understanding before you compare specifications.
| Term | What it means |
|---|---|
| Substrate | The material being painted — plaster, concrete, metal, timber, fibre cement |
| Chalking | Powdery residue on the surface as a coating's binder breaks down under UV |
| Crazing | A fine map of shallow surface cracks, usually plaster shrinkage rather than structural |
| Efflorescence | White salt deposits left behind as moisture moves through masonry and evaporates |
| Bonding liquid | A penetrating primer that binds loose or chalky material so a topcoat can adhere |
| Plaster primer | A primer for new or bare alkaline surfaces such as cement plaster and concrete |
| Feathering | Sanding the edge of sound paint to a taper so the repair does not show as a ridge |
| Alkalinity | Fresh cement is chemically alkaline and can attack coatings applied too early |
Cracks: which ones matter
Not all cracks are equal, and knowing the difference saves both money and disappointment.
Hairline crazing
A fine network of shallow cracks across the plaster, often described as looking like a dried riverbed. Usually plaster shrinkage. Fill, sand and prime; not a structural concern.
Fine cracks, under about 0.5mm
Generally movement within the plaster. Rake them out slightly to give the filler something to grip, fill with a flexible filler rather than a rigid one, sand and prime.
Cracks wider than about 0.5mm
Particularly diagonal cracks running from the corners of windows and doors, cracks that pass through the brickwork rather than just the plaster, or cracks that have reopened after previous repair. Treat these as potentially structural and get the cause looked at before painting. Filling a live crack means it reappears within a season, and you will have paid to hide a symptom.
A quick field test. If a crack has clean, sharp edges and has reopened after being filled before, it is still moving. Painting over it is money wasted. Cracks that are dusty, rounded and stable are usually dormant.
Chalking, the Highveld's signature problem
Run your hand down a sun-facing exterior wall on an older Gauteng house and it often comes away with a fine powder on it. That is chalking: the paint's binder breaking down under prolonged ultraviolet exposure, leaving loose pigment on the surface.
It matters here more than in many places. Research co-authored by the South African Weather Service found that South African sites at higher altitude experience higher mean solar UV, with Pretoria recording a mean UV index of 6 and levels highest in summer.[2] North- and west-facing walls take the worst of it.
Chalking is also the single most common reason a repaint fails early. New paint applied straight onto a chalked surface bonds to the loose powder rather than to the wall, and takes it off with it.
Both major manufacturers address it explicitly. Dulux Trade specifies that "Chalked surfaces must be thoroughly brushed or prepared with high pressure water cleaning."[3] Plascon's plaster primer data sheet instructs that on chalking surfaces you should "remove as much loose powder as possible by scrubbing" with a sugar soap solution, then rinse and allow to dry.[4]
The critical follow-up is the primer. Ordinary plaster primer on a chalking wall will simply sit on top of the residual powder. A chalked surface needs a penetrating bonding liquid that soaks in and binds what remains. Getting this one choice wrong is the difference between a repaint that lasts and one that peels in sheets.
Damp, efflorescence and algae
These three get confused constantly, and the treatments have almost nothing in common.
Damp shows as staining, blistering paint and sometimes salt deposits. Where it appears tells you a great deal about the cause, and the cause determines the fix. We cover this in detail in our guide to rising damp, penetrating damp and condensation. The one universal rule: paint will not fix any of them.
Efflorescence is the white, powdery salt deposit left as moisture migrates through masonry and evaporates at the surface. It is a symptom of moisture movement, not a problem in itself. Brushing it off and painting over it does not work while water is still moving through the wall — the salts return, and they lift the coating as they crystallise.
Algae and mould appear as green or black growth, typically on shaded south-facing walls, under overflowing gutters, and behind shrubs planted tight against the house. It must be killed with an appropriate treatment and washed off. Painting over live growth means it comes back through the new coat, and mould-resistant paint is designed to resist colonisation, not to sterilise an already-infested surface.
New plaster: how long to wait
This is one of the most common sources of conflict between builders and painters, and there is a clear answer in the manufacturers' own documentation.
Plascon's plaster primer technical data sheet states that new plaster should be allowed to dry for at least 28 days before priming.[4] The reason is chemical rather than arbitrary: fresh cement plaster is both wet and strongly alkaline, and needs time to carbonate and dry before an alkali-sensitive coating goes over it.
Dulux Trade approaches the same problem from a different direction, specifying moisture content rather than calendar days. Its moisture-tolerant plaster primer is described as tolerating moisture of up to 30%, allowing earlier priming of newly plastered walls, while standard topcoats are described as suited only to walls at 12% moisture or below.[3]
Worth being precise about: the 28-day figure is manufacturer specification, not South African law. There is no regulation mandating a plaster cure period before painting. Anyone telling you "the standard requires 28 days" is overstating it — but the chemistry behind the guidance is real, and ignoring it is how new builds end up with blistered or discoloured walls in their first year.
Choosing the right primer
| Surface | Primer type | Why |
|---|---|---|
| New or bare plaster | Plaster primer | Handles alkalinity; seals a porous substrate |
| Chalky, powdery exterior | Bonding liquid | Penetrates and binds loose material |
| Bare or rusted metal | Anti-corrosive primer | Stops rust continuing beneath the coating |
| Bare timber | Wood primer | Seals grain, blocks resin bleed |
| Concrete roof tiles | Penetrating roof sealer | Tile is porous and absorbs the first coat |
| Sound, previously painted | Often none needed | Spot-prime repairs and filled areas only |
Note the last row. On genuinely sound previously-painted walls a full prime coat is often unnecessary, and a contractor who tells you so is being straight with you rather than cutting corners. What should always be primed is any area that has been filled, repaired or taken back to the substrate.
What you actually need
If you are doing this yourself, the preparation kit matters more than the painting kit:
- Scrapers and a wire brush for loose coating and surface rust
- Sanding block and abrasive paper in a couple of grades
- Sugar soap or an appropriate cleaner, and a stiff scrubbing brush
- Flexible exterior filler and interior filler — they are not the same product
- Filling knife, and a caulking gun for junctions and frames
- Dust sheets, low-tack masking tape, plastic sheeting for plants and paving
- Eye protection and a dust mask — genuinely necessary when sanding old coatings
On older homes. If your house is old enough to have original coatings, treat sanding dust as something to contain rather than sweep. South Africa introduced Regulations Relating to Lead in Paint or Coating Materials in May 2024, limiting total lead in paint to 90 ppm.[5] That governs paint sold now — it says nothing about what is already on an older wall. Wet-sand where practical, keep children and pets away, and bag the debris.
Seven mistakes we are called out to fix
1. Painting over flaking paint
The new coat is only as attached as the old one beneath it. If it is lifting, it comes off — and it takes your new paint with it.
2. Using plaster primer on a chalking wall
The most expensive single mistake on this list, because the whole exterior fails at once. Chalked surfaces need a bonding liquid.
3. Skipping primer to save a day
Primer creates the bond and seals porosity. Two finish coats without it is not an equivalent specification, whatever the label claims.
4. Painting new plaster on the builder's schedule
Fresh plaster is wet and alkaline. Applied too early, paint can blister, discolour or simply fail to bond.
5. Using interior paint outside
Exterior products carry UV stabilisers and flexibility that interior products do not. Under Highveld sun, interior paint on an exterior wall can start chalking within a single summer.
6. Filling a live structural crack
It reopens. Diagnose the movement first, or accept that you are buying a season of cosmetic improvement.
7. Not fixing the cause
Painting over a damp patch, an overflowing gutter or a failed roof junction hides the symptom for a few months and guarantees you pay twice.
Frequently asked questions
Do I need to prime walls before painting?
Bare or repaired surfaces always need primer — new plaster needs plaster primer, chalking exteriors need a bonding liquid, and bare metal needs an anti-corrosive primer. Sound, previously painted walls in good condition often do not need a full prime coat, but every filled or repaired area should be spot-primed.
How long should new plaster dry before painting?
Plascon specifies at least 28 days before priming. Dulux Trade instead specifies moisture content, with its moisture-tolerant primer tolerating up to 30% and standard topcoats suited to 12% or below. Both are manufacturer specifications rather than legal requirements.
Can you paint over cracks in a wall?
Hairline crazing and cracks under about 0.5mm can be raked out, filled with a flexible filler and primed. Wider cracks, especially diagonal ones from window and door corners, may be structural and should be investigated first, because filling a moving crack means it reappears.
Why is my paint peeling off the wall?
The most common causes are painting over a chalky or flaking surface, skipping primer, trapped moisture from damp or from painting before the surface dried, and using interior paint outside. In each case the fix is to remove the failed coating, deal with the cause, and prime correctly.
What is the white powder on my wall?
Efflorescence — salt deposits left as moisture moves through masonry and evaporates. It is a symptom of moisture movement, so it will keep returning until the water source is addressed. Brushing and repainting is a temporary cosmetic fix.
Is there a South African standard for painting?
Yes. SANS 10305 covers painting of buildings in six parts, published in 2012, covering paint selection, application and defects, paint types, walls and ceilings, roofs and steel, and timber. It is published by the SABS and is a paid standard.
Conclusion
Preparation is the part of a painting job you cannot see once it is finished, which is exactly why it is the part that gets cut. If you are getting quotes, the preparation lines are the ones worth reading closely — our guide to house painting costs sets out how to compare them properly.
If you are doing the work yourself, the order matters as much as the effort: clean, then make sound, then dry, then prime. Get that sequence right and a mid-range paint will serve you well. Get it wrong and no product on the shelf will save the job.
Sources & references
- Plascon, How to prepare exterior walls for painting — surfaces must be clean, firm and thoroughly dry — plascon.co.za
- Wright CY et al., Solar Ultraviolet Radiation Exposure in South Africa, Int. J. Environ. Res. Public Health 14(11):1384, 2017 — co-authored with the South African Weather Service — Europe PMC full text
- Dulux Trade, Plaster Primer Moisture Tolerant technical data sheet — chalked surface preparation and substrate moisture thresholds — Dulux Trade TDS
- Plascon, Plaster Primer technical data sheet (UC 56) — 28-day drying period for new plaster; treatment of chalking surfaces — plascon.co.za
- Department of Health, Regulations Relating to Lead in Paint or Coating Materials, Notice 4832, Government Gazette 50665, 17 May 2024, under the Hazardous Substances Act 15 of 1973 — gov.za
- South African Bureau of Standards, SANS 10305:2012 — Painting of buildings, Parts 1–6 — store.sabs.co.za
Prices quoted in this guide are published market ranges from South African quoting platforms, not regulated figures. They are included so you can sanity-check a quote, and will vary by property, surface condition and specification.